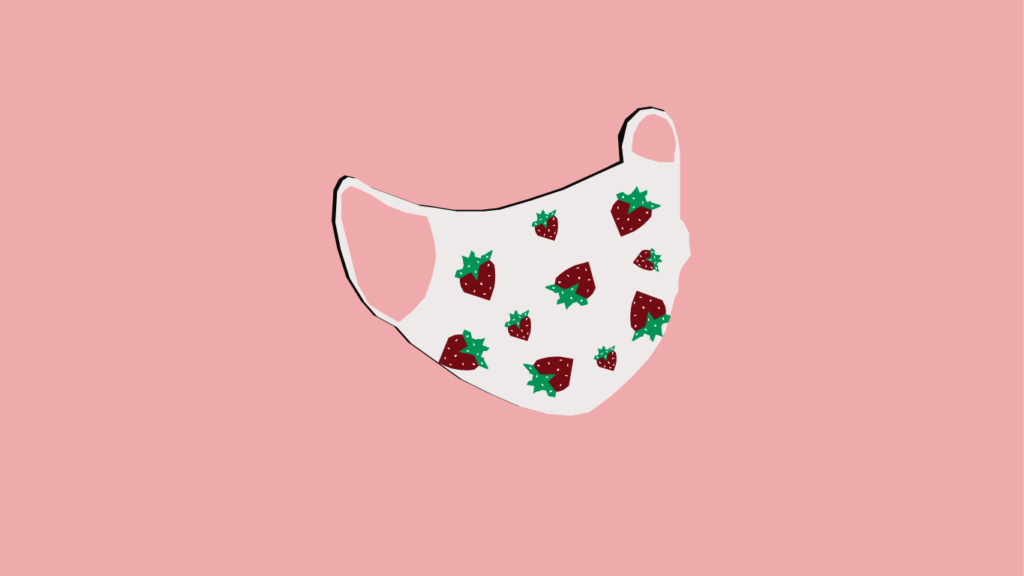
As a result of Governor Jay Inslee’s statewide mask mandate, Washingtonians must wear a face mask in public spaces where staying six feet from others is too difficult. As stated by the Centers for Disease Control and Prevention (CDC), wearing a face mask proves to be the most effective way to avoid spreading COVID-19 in public settings. While some masks can be a bit pricey, uncomfortable and bland, The VanCougar has put together a guide on how to make a safe yet stylish mask from the comfort of your own home.

According to the website for the Centers for Disease Control and Prevention, “COVID-19 spreads mainly from person to person through respiratory droplets produced when an infected person coughs, sneezes, talks or raises their voice. … To reduce the spread of COVID-19, CDC recommends that people wear cloth face coverings in public settings when around people outside of their household.”
The VanCougar recommends learning some basic sewing techniques like how to do a running stitch, thread a needle and tying off your thread once you are done sewing. The smaller and tighter your stitches, the sturdier your mask will be.

Step 1: Trace and cut out your circle
Trace a plate on the backside of your fabric and cut it out. After you have cut out your circle, vertically fold it in half and then fold it in half again horizontally until you have a triangular shape. Cut through each three folds of fabric and when you are done, you should have 4 separate identical pieces of fabric.
Step 2: Sew curved edges
Take two pieces of fabric and line them up evenly with the print sides facing one another. After lining them up, clip them together with a binder clip. Once they are aligned, sew all the way across the curved edges and repeat with the other two pieces of fabric. These two portions will be the front and back of the mask.

Step 3: Sew the front and back together
Align the two pieces you have together, print sides facing one another and clip them together to hold them in place. Sew all along the edges of the two pieces, leaving one side of the mask open so that you can turn the mask right side out when you are done sewing. When you are done tying off your thread, turn your mask right side out by gently pushing and pulling the inside of the mask through the open slit. Once you are done turning the mask right side out, choose the side you would like to be the front. Hold the mask up to your face in different ways to figure out which way fits the most comfortably.
Step 4: Sew the sides with elastic
First, cut two eight-inch strips of elastic. Then slightly fold the left and right sides of the mask inwards and pin them with sewing pins. Make sure the mask is even after folding the sides by looking at the mask from the front. Once you have folded the left and right side, stitch each side and leave a little space open for the elastic to go through. On each side, pull the elastic through the open space and tie the elastic ends together so you have an ear loop on both ends.
We hope this tutorial is used as an accessible resource for VanCougs to create a reliable mask to ensure that they are protected and covered while out in public.
The instructions to this tutorial are credited to Crafty Daily and their YouTube tutorial can be found here. You can also find more information on the CDC’s guide on cloth face coverings here.

